

Network usage monitoring in Ubuntu


So January is around or as we call it in Kenya, Njaaanuary (meaning month of hunger, the Swahili word for hungry is Njaa). I find myself in a situation where I need to drastically limit my internet usage so that the internet bundle that I buy from my ISP can last through the month. As such, I need a tool that can help me monitor my internet usage when on PC so that I can avoid going over my daily quota.
So naturally I google 'network usage monitors Ubuntu' and find a tool called vnstat, a command line tool that is designed to sit in the background and quietly log internet data usage. To install vnstat run the command.
$ sudo apt-install vnstat
I follow the rest of the instructions but vnstat is not logging and presenting data as it should. I re-read the instructions and there was a part that was unclear to me. In order to use vnstat, you have to point it to the right internet interface in your Linux setup. I had no idea what the instructions were talking about when they referred to interfaces but I nonetheless followed the instructions and ended referring to the interface used in the tutorial, which does not exist on my PC.
Another quick round of googling and I learn that each path to the internet that the PC uses has an interface. For instance if your PC has an ethernet port its interface may be eth1 or something. To check out the interfaces on my computer and find out which one is my wifi dongle I had to type the command.
$ route
However, the command does not work without net-tools installed, so...
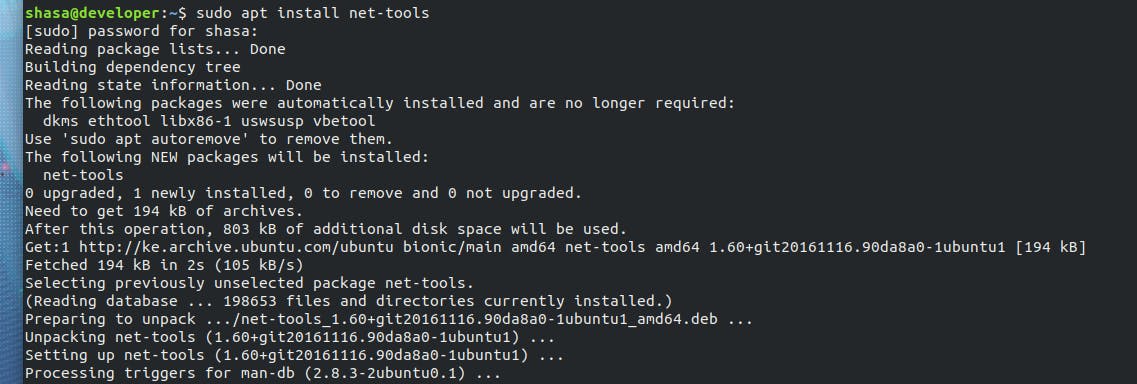
net-tools is now installed so I run the route command again..

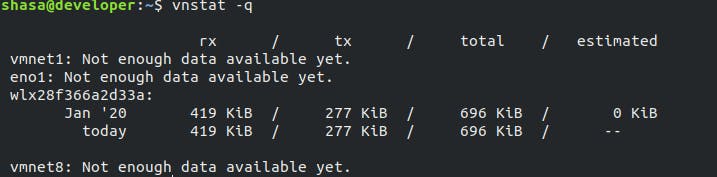
The default interface that vnstat should be monitoring is wlx28f366a2d33a, no idea why its name looks like my screen after trying to quit vim but we move!
Now that I know where to point vnstat, I can go through the earlier tutorial again with renewed clarity. I run the command.
$ sudo nano /etc/vnstat.conf
The command enables me to edit vnstat's configuration file so that I can set wlx28f366a2d33a as the default interface. After editing the file using nano I quit by ctrl-x (had to google that too) and vnstat is working!
Important things to note
To set up monitoring on the chosen interface initialize the database through the command.
$ sudo vnstat -u -i wlx28f366a2d33a
Then setup vnstat to run in the background collecting data through the commands.
$ sudo systemctl start vnstat.service
$ sudo systemctl enable vnstat.service
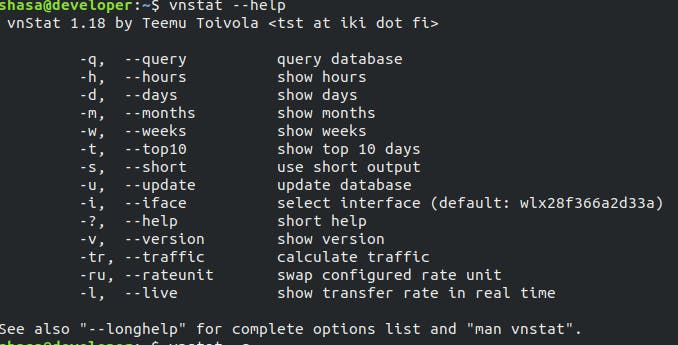
Vnstat has a set of helpful options that can be accessed by typing.
vnstat --help
There are a couple of additional tools that one can add on top of vnstat to get cool UI interfaces but for now I am satisfied with the terminal output as it achieves the goal of letting me periodically see how much data I have used.