

Intro
So, you have learned the basics of Django and can now create applications. However, you learn that for professional grade applications, it is preferable to use a database like PostgreSQL instead of the natively supported sqlite. Sqlite makes it convenient to learn django without having to fiddle around with database settings, in this way it lowers the learning curve for learning django. Sqlite is not ideal for your professional applications because it is not very scalable and lacks many advanced features found in PostgreSQL that makes it easy to manage a growing database.
This tutorial shows how to setup PostgreSQL on your computer so that your development machine more closely matches the production environment where your Django app will run. I do make the assumption that your development machine runs Ubuntu and has python installed, some of the commands used may also work for macOS.
Step One
The first step in connecting Django to PostgreSQL is downloading PostgreSQL on your computer.
To install PostgreSQL, open up your terminal and type these commands:
sudo apt update
sudo apt install postgresql postgresql-contrib
The first command refreshes the local package index, the second command installs two packages postgresql and postgresql-contrib, postgresql-contrib includes additional functionality for maintaining PostgreSQL databases.
Step two
Now that you have PostgreSQL successfully installed, the second step is logging into a PostgreSQL session. By default PostgreSQL creates a new system account called postgres, this allows you to log into a PostgreSQL session and begin creating databases.
In your terminal, switch over to postgres's account by typing:
sudo -i -u postgres
you will notice your terminal prompt now looks like postgres@computerName:~$ with computer name being the name of your computer, this means that you have logged in to a user account that is fully authenticated to create and manage PostgreSQL databases. You can create a new user and give them permission to create and modify databases, however for simplicity we will stick with user postgres in this tutorial.
while logged in as postgres type:
$ psql
this command logs you into the database, your prompt now displays postgres=#
if you type \conninfo you will see the following:
You are connected to database "postgres" as user "postgres" via socket in "/var/run/postgresql" at port "5432".
PostgreSQL users need a database matching their name in order to login to a PostgreSQL session. So if you were to create a PostgreSQL user called john you would have to create a database called john in order to log in as PostgreSQL user john.
to exit from the PostgreSQL session with the prompt postgres=# type in the command \q, which will take you to user postgres' terminal session with the prompt postgres@computerName:~$. To go back to your terminal session type exit
Step three
Now that you have successfully installed PostgreSQL and can login with the predefined user 'postgres' we can go ahead and create a database that we will later connect to a Django application. Note, for every website you create, you need to create a PostgreSQL database, so you will likely repeat the steps in this section multiple times as a Django developer.
Make sure you are connected to the database, your terminal prompt should be displaying:
postgres=#
If not follow the directions outlined in step two.
First, change the password of user postgres to 'admin' by typing the command:
postgres=# ALTER USER postgres PASSWORD 'admin';
This will enable us to avoid some errors when connecting to the database in django, you can always change the password and user later.
While connected to the database, create a new database for car sales website, do so by typing the command:
postgres=# CREATE DATABASE cars;
Don't forget the semicolon at the end as it will trip you up. If your command is successful the terminal will display CREATE DATABASE right beneath your command indicating that the database has been created. Connect to the new database by typing the command below. This command will switch your prompt to display cars=#
postgres=# \c cars
After connecting to the database type the following command to show your connection details and to verify that you have successfully created database cars and connected to it.
cars=# \conninfo
Step Four
Now its time to fire up django and connect it to the database we have just created. I am going to use pipenv to create the virtual environment for our django app. If you do not have pipenv installed you can install it with the command:
$ sudo apt install pipenv
Pipenv makes it easy to manage virtual environment for your various django applications.
Create a new folder for our application and switch to it by typing:
$ mkdir cars_site && cd cars_site
While inside the cars_site folder, activate the virtual environment by typing:
$ pipenv shell
This command will set up a virtual environment into which we can install Django and all the necessary packages that the cars application may need. The command will also switch the terminal session to the virtual environment, you will notice your terminal prompt now displays:
(cars_site) username@computername:~/cars_site$
username and computername will be your usual linux user and computername.
Now install django in the new virtual environment by typing:
$ pipenv install django
After a successful install, install another package called psycopg2, this enables Django to communicate with the PostgreSQL database. Install the package with the command:
$ pipenv install psycopg2
After creating the packages we need, create a new django project with the command below. Dont forget the period at the end:
django-admin startproject config .
Now create a django cars app with the command:
$ python manage.py startapp cars
Now let us make a few changes to the file config/settings.py. open it using your code editor and first register app cars by making the change:
INSTALLED_APPS = [
    'django.contrib.admin',
    'django.contrib.auth',
    'django.contrib.contenttypes',
    'django.contrib.sessions',
    'django.contrib.messages',
    'django.contrib.staticfiles',

    # Our cars app here
    'cars',
]
Then within the same file navigate to the environment variable DATABASES which displays the following:
DATABASES = {
    'default': {
        'ENGINE': 'django.db.backends.sqlite3',
        'NAME': BASE_DIR / 'db.sqlite3',
    }
}
The default database setting points django to the sqlite database bundled with django. However, because we want to use PostgreSQL, change the details to the following:
DATABASES = {
    'default': {
        'ENGINE': 'django.db.backends.postgresql',
        'NAME': 'cars',
        'USER':'postgres',
        'PASSWORD':'admin',
        'HOST':'localhost',
        'PORT':'',
    }
}
Now we have configured django to use PostgreSQL lets go ahead and create our cars model within cars/models.py open the file and add the cars model:
class Cars(models.Model):
    car_type = models.CharField(max_length=200)
    car_model = models.CharField(max_length=200)

    def __str__(self):
        return self.car_type
The model is simple enough to test whether our django app connects to the database. For a real cars app you might want to include more fields and models.
After creating the model, open cars/admin.py and add the following code,
from django.contrib import admin
from .models import Cars # New

# Register your models here.
admin.site.register(Cars) # New
Migrate the database
Everything is set up correctly, by this step you have installed PostgreSQL, created a database, launched django, changed the details in settings.py to point to the new database and created a model. Now we migrate the database in order for django to translate our model into the relevant PostgreSQL tables.
Go back to the terminal and make sure it is connected to the virtual environment, the prompt should read something like:
(cars_site) username@computername:~/cars_site$
Now run the command:
$ python manage.py makemigrations cars
If the command runs sucessfuly it will display
Operations to perform:
  Apply all migrations: admin, auth, cars, contenttypes, sessions
Running migrations:
  Applying cars.0001_initial... OK
Now run the command:
python manage.py migrate
Django will migrate the models into the database we indicated in settings.py. At this point django seamlessly connects with the PostgreSQL database
Now create a superuser, in order to connect to the django administration interface to enter data into the database.
to create a superuser, type the command and follow the prompts,
$ python manage.py createsuperuser
After creating the superuser, launch the development server with the command
$ python manage.py runserver
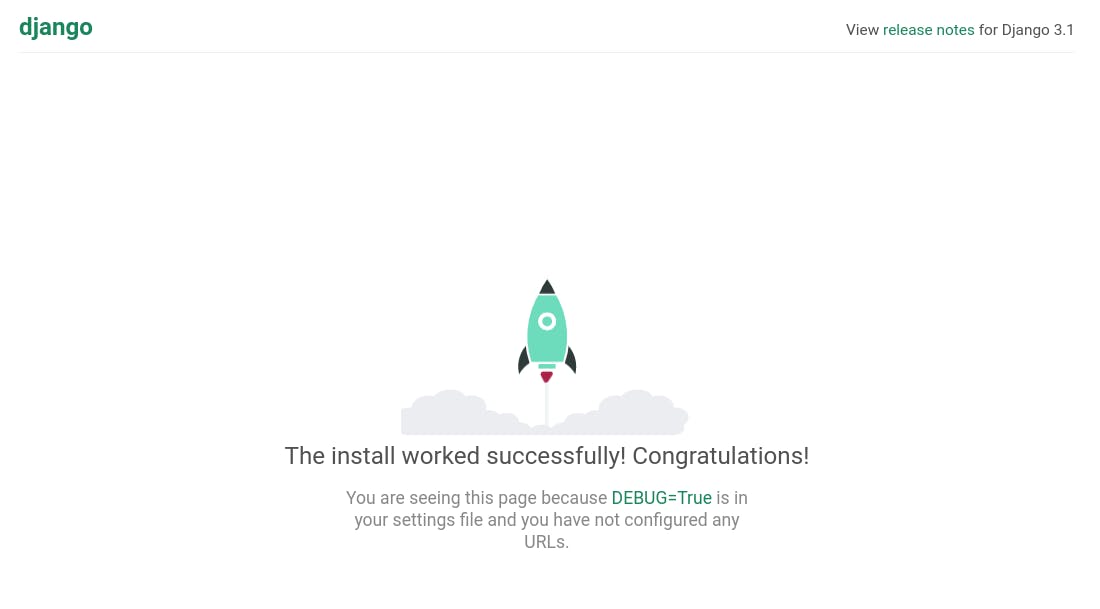
Now you can open your browser and connect to http://127.0.0.1:8000/ you will see the following image:
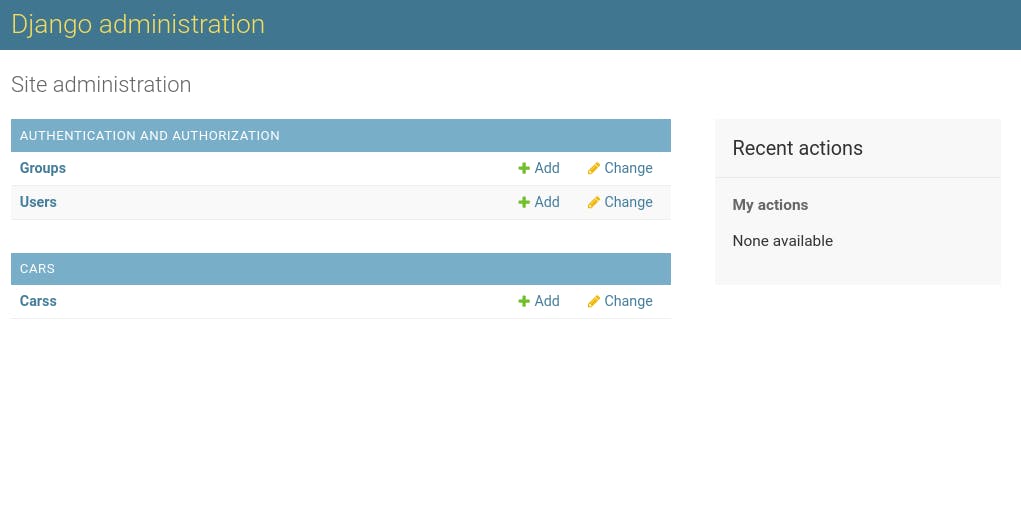
Log into the admin interface by typing http://127.0.0.1:8000/admin/ and login with the superuser you created:
You will then see the following interface and can now enter data into the PostgreSQL database
Final
If you managed to reach the end successfully congratulations, in this tutorial you accomplished the following
- Downloaded PostgreSQL
- Logged into database using user postgres and created a cars database
- Launched django and connected it to the database
Now you can use PostgreSQL with django